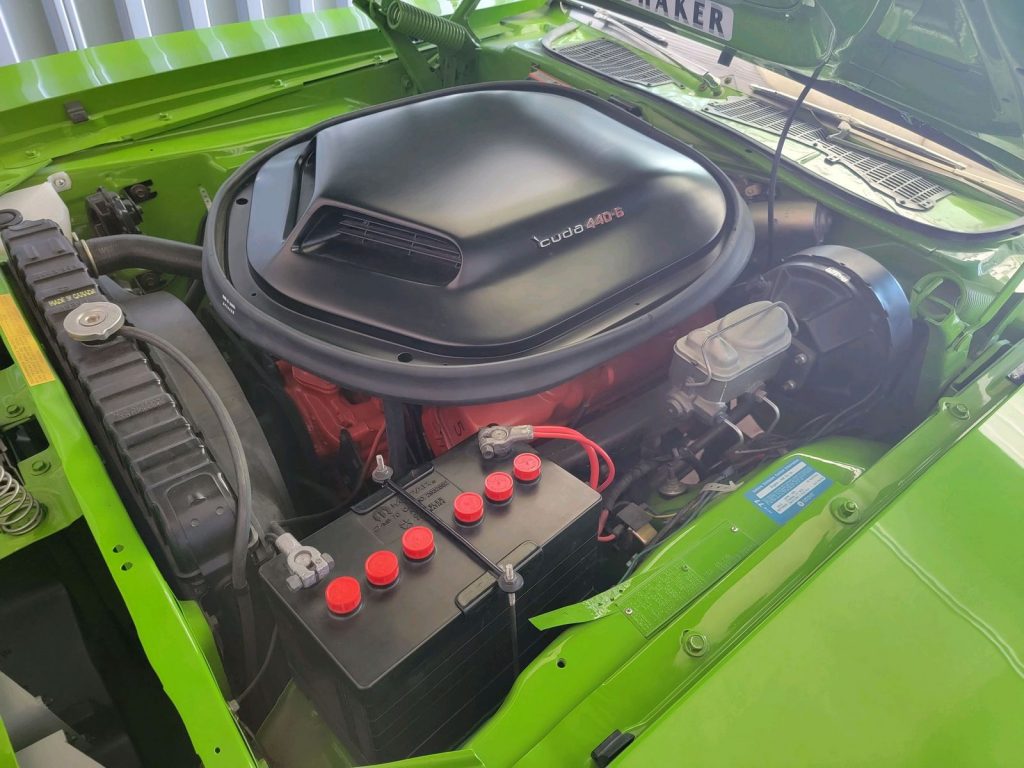
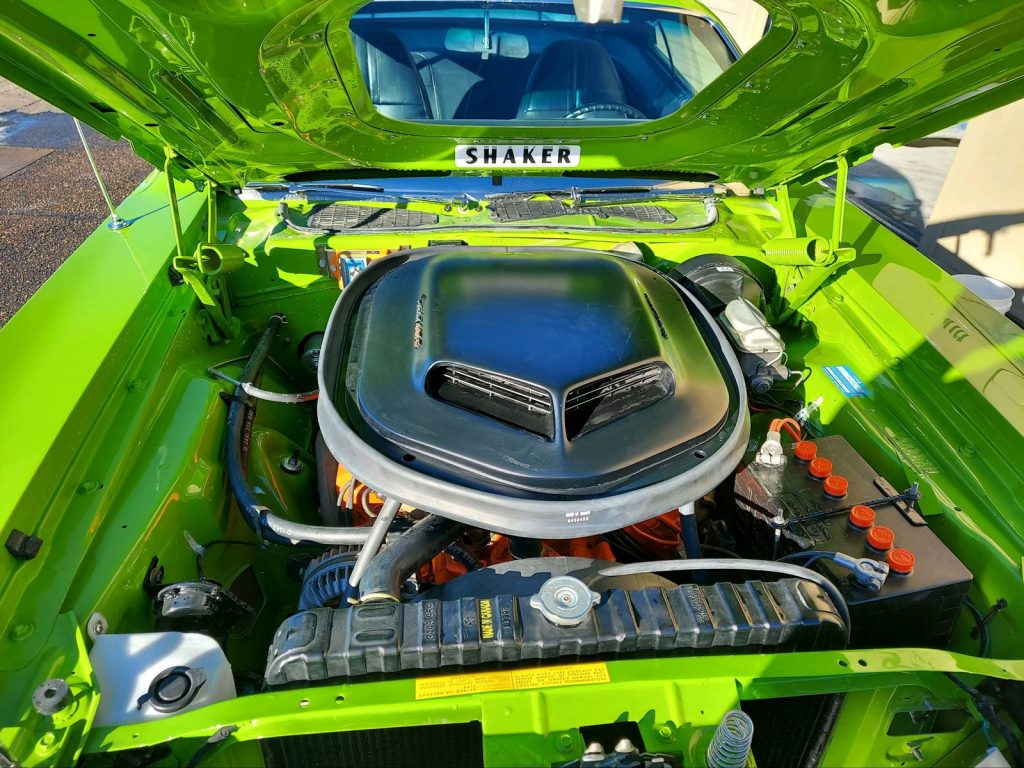
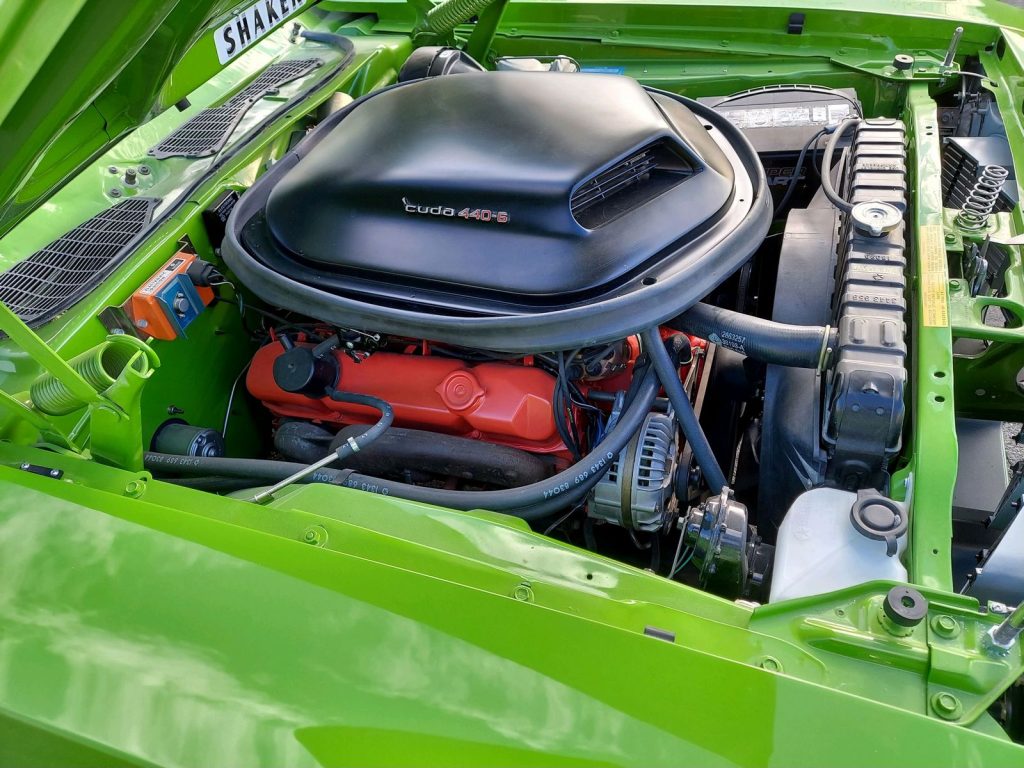
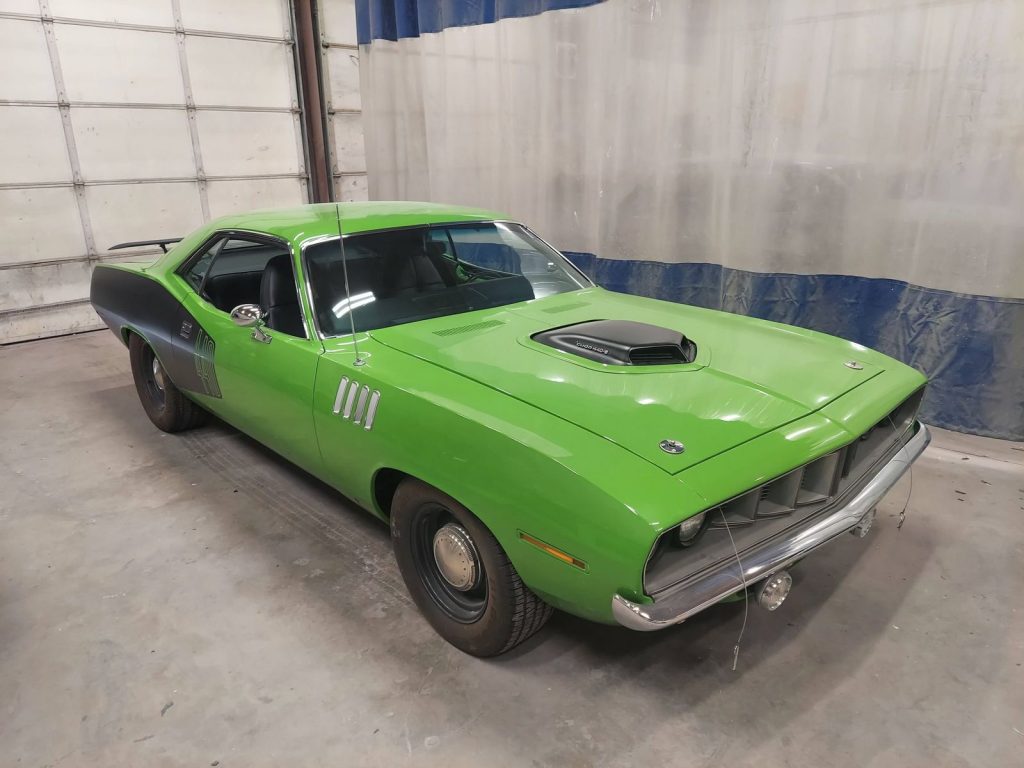
SHAKER KIT INSTRUCTIONS
Place white Fiberglass Bubble upside down with Grills facing you.
Place right and left Grills and set them on the 4 studs using (4) 8 x 32 screw nuts and tighten the nuts with your fingers.
Take the large Cold Air Cable and place it over the two studs and line up the front holes with the holes in the grills, then take 4 ¾ self- taping screws and put them in the 4 top holes, finger tighten all 8 screws and nuts down (do not over tighten)
Take the Warm/Cold Air Doors and place them on the table upside down, with the Warm Air Door on your left, tabs up. Take the Warm/Cold Air Door Rod and put short end threw tab on the Small Air Door and install clip. Then take the long end of road and slightly open large Cold Air Door up in front and push rod threw oblong hole in the Cold Air Door and install clip. You are now ready to install Warm/Cold Air Doors into your Bubble. Flip door over and install then in the Bubble using 3 ¾ Self tapping screws on Warm Air Door and (2) 8# x 32 nuts on Cold Air Door studs. Take the two Ground Straps and place Ground Strap on top of the grill to outside of Warm/Cold Air Door and repeat on other side. Next take the short cable (short cable has a mounting bracket on it) and open Cold Air Door and place cable end on end of the Cold Air Door Rod, no clip necessary, use 1 ¾ self- taping screw in cable post in Bubble.
Take the Adapter Ring and place it on the table with the Bell Crank over the edge of the table.
Place Bubble on the Adapter Ring, lining Bubble evenly on the Adapter Ring, take painters tape and tape Bubble to the Adapter Ring.
Turn Bubble and Adapter Ring over so you can mark location of screw holes on Bubble. Separate Bubble from Adapter Ring and drill 7 small pilot holes using 3/32 drill bit.
Take the Adapter Ring, Base Plate and Adapter Nut Washer Kit and place Base Plate on table with Adapter Ring on top of Base Plate and use the Washer and Nut Kit to attach Base Plate to Adapter Ring.
Next, take the NW1050 Seal, use a little bit of weatherstrip adhesive glue in the seal and around the warm air hole on the Adapter Ring.
You are now ready to align the Adapter Ring and Base Plate to the motor. Center it as needed and tighten all 7 nuts and washers.
Then install the Air Filter and Lid, then tighten.
Now attach Bubble to Adapter Ring using NW1070, push Cold Air Door Cable through the small hole in the Adapter Ring and use the black clip provided in NW1072 kit and 1 small screw to clip cable on the bottom of the Bell Crank Arm.
You are now ready to bolt on the Bubble to the Adapter Ring. Take the Adapter Ring seal place seam at #6 cylinder, stretch seal all the way around the Adapter Ring. You may need to use clamps to hold seal in place while installing it. You will need a 1†hole somewhere in the firewall for carb air cable seal. Bolt carb air cable to the top of Bell Crank Arm and use a “C†Clip on cable.
SHAKERHOOD CONVERSION KIT INSTRUCTIONS
The following is to assist with the installation and alignment of your Shakerhood Conversion Kit.
[DOWNLOAD CONVERSION KIT KIT INSTRUCTIONS]
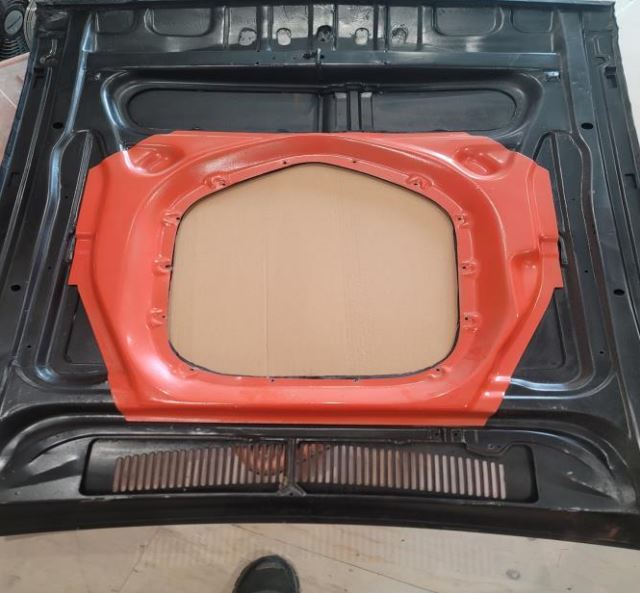
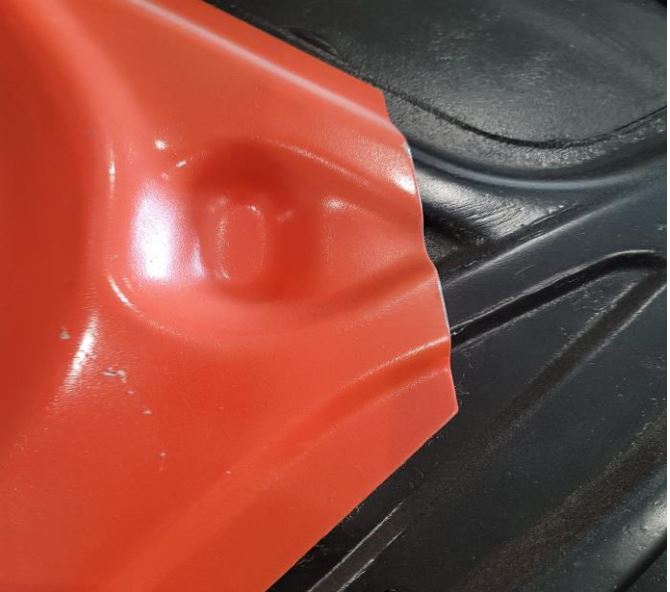
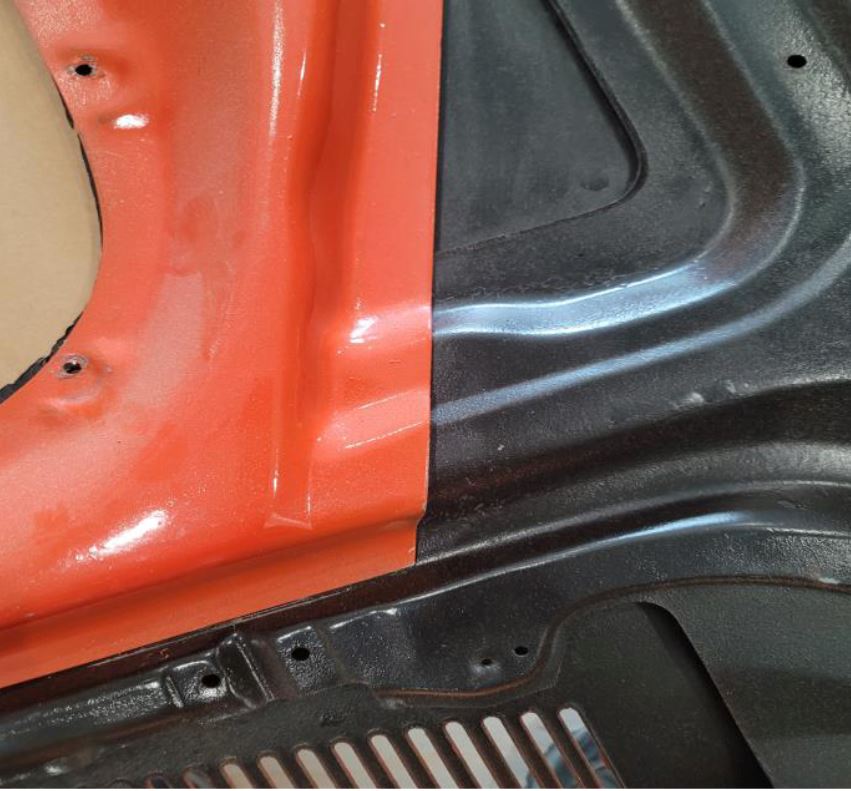
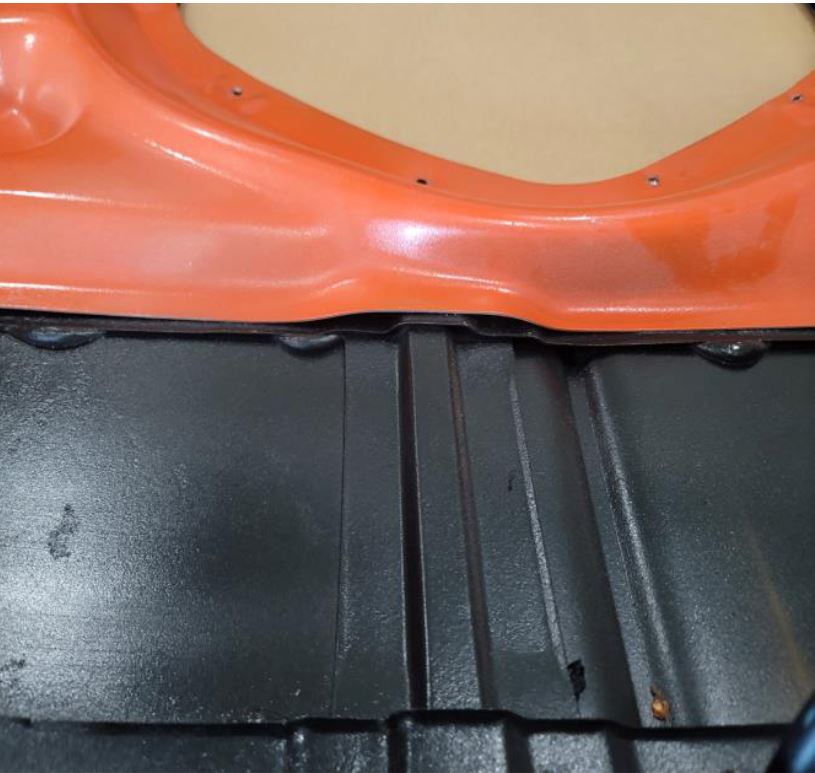
STEP #1: Take the underhood brace and place it on the underside of the hood. There are parts of the factory hood bracing that will need to be removed. *Conversion Kit Brace should overlap factory bracing by 1/4-inch to 1/2- inch
STEP #2: After removing the factory brace, the indents on the conversion kit will line up with the factory hood bracing. * See attached pictures for reference.
STEP #3: Secure the Conversion Kit bracing to the underside of hood with clamps. It is important the it stays stationary for marking and cutting the opening.
STEP #4: Trace around the Conversion Kit Brace opening. Then measure approximately 1/4-inch inward around the trace mark. Cutting will be done on the smaller trace mark. * This 1/4-inch accounts for the bend in the metal when flanging the hood.
STEP #5: Remove Conversion Kit Brace and cut the opening for the Shakerhood Conversion Kit.
STEP #6: After cutting your opening, go around the opening with the supplied flange tool and flange completely and evenly around the opening for installation of the Trim Ring.
STEP #7: Place the Trim Ring on the flanged area on the top side of the hood. Make sure you place the Trim Ring evenly. Mark where the Trim Ring bolts are.
STEP #8: Clamp Conversion Kit Brace to underside of hood. Drill Hood and Conversion Kit Brace on the Trim Ring bolt marks.
STEP #9: Test fit Trim Ring, Hood and Conversion Kit Brace for proper fit, then tac-weld Conversion Kit Brace to hood.
STEP #10: Complete install with necessary body work and paint
Shaker Hoods and Mopar Parts
We specialize in shaker hood kits for your Plymouth Cuda and Dodge Challenger but carry many other quality Mopar parts. We have been in business for 30 years so use our advanced knowledge of Mopar products and our fantastic catalog of quality reproduction parts to help you finish your ride.
